

In my previous post, I discussed the rules for dialog captions. Now, I will shift my focus to word balloons, one of the most crucial elements of communication in comics.
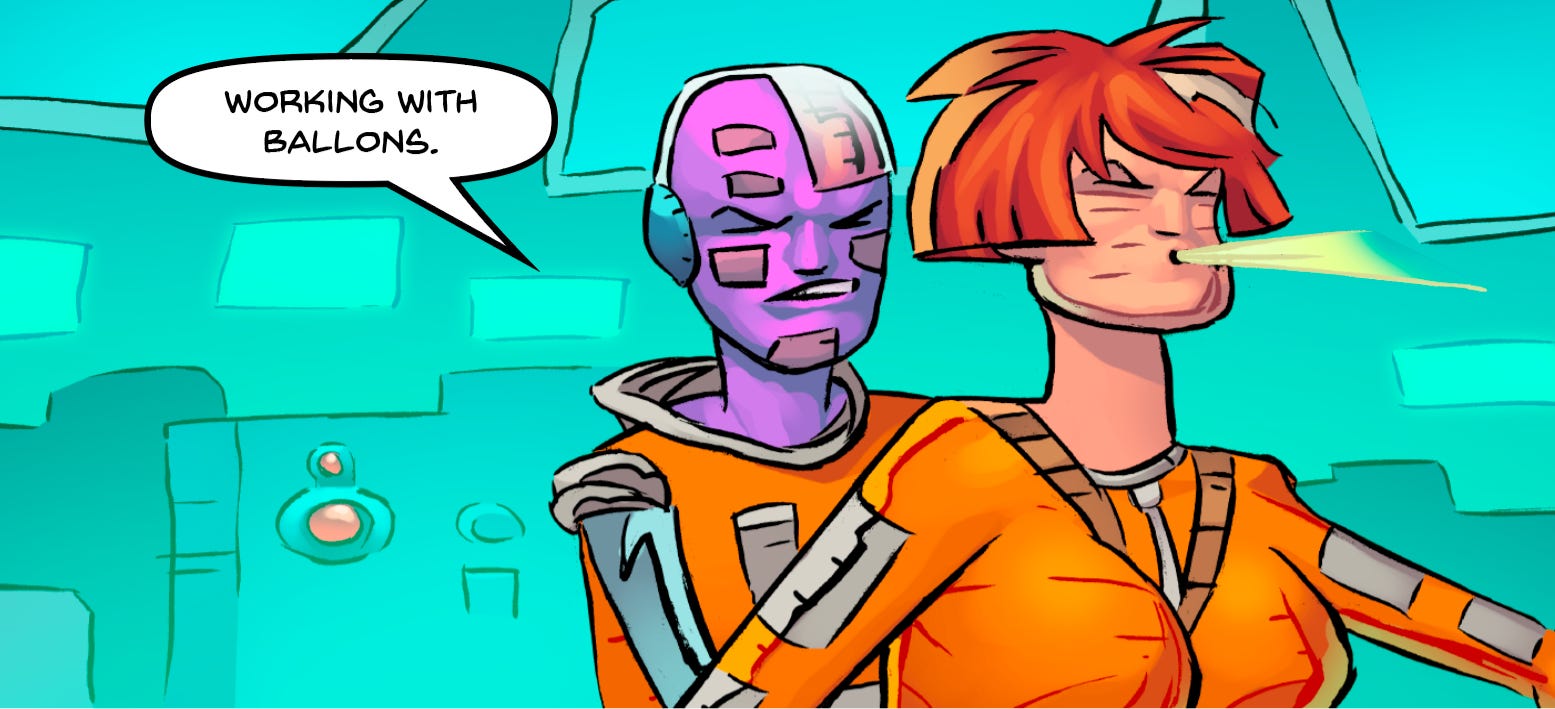
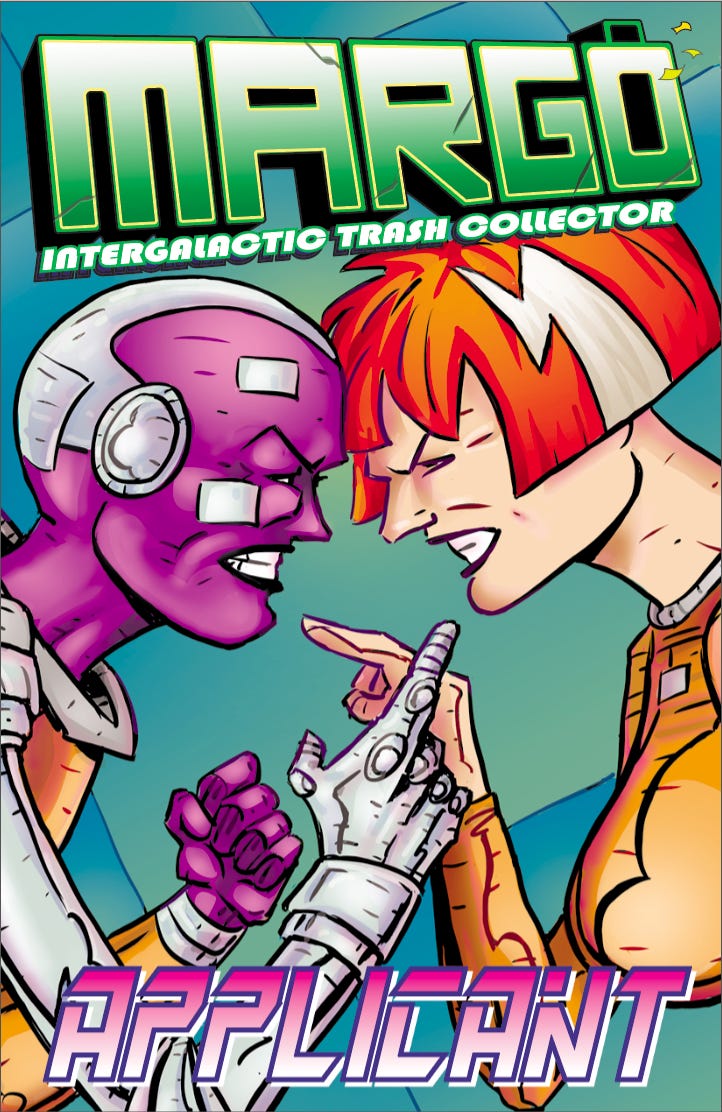
As a writer and artist, I prefer to use Adobe Illustrator to letter my comic pages. For this example, I will start by lettering this panel from my Margo Intergalactic Trash Collector: Applicant story.
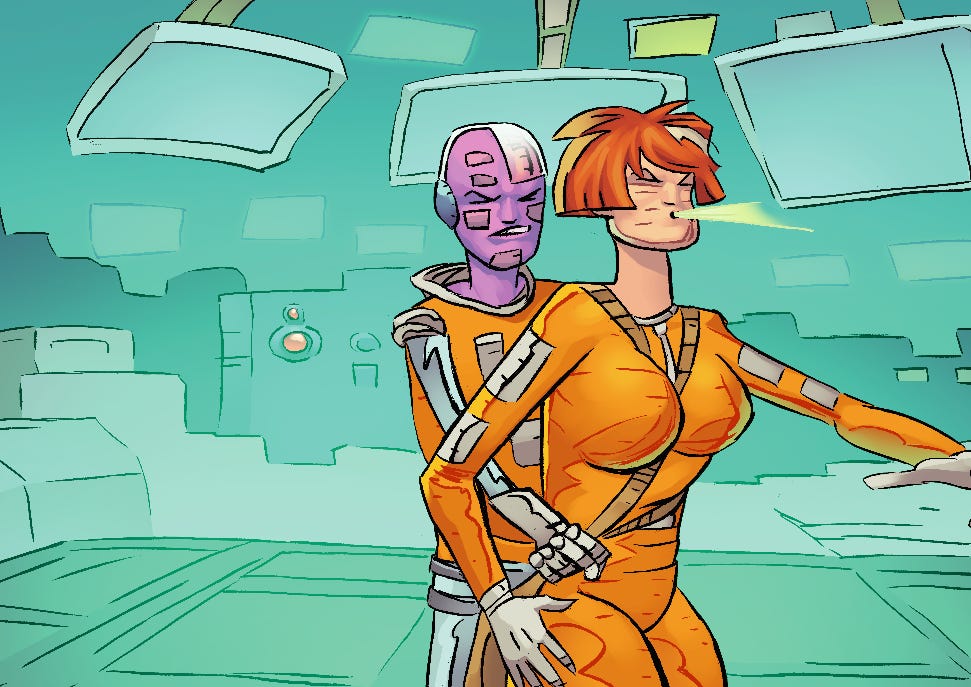
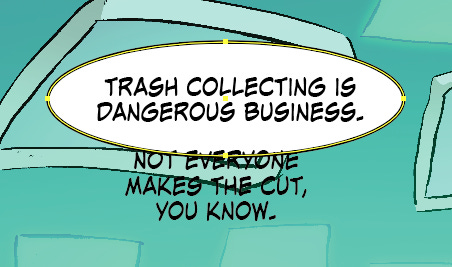
Here is the panel without the lettering.
The text should be positioned where the dialog is intended to appear.
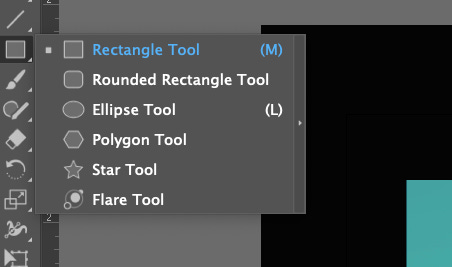
Once I have placed the text, I use the Rectangle tool, scrolling down to the Ellipse tool.
Use the Ellipse tool to create the container around the text. Keeping the text on a separate layer will help navigate between the text and the balloons.

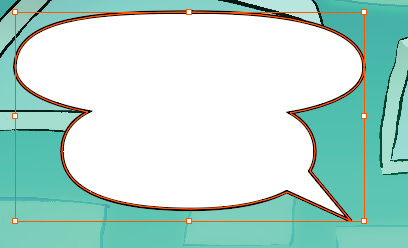
To emphasize the story beats in the continuing dialog, I create a separate container and move it to overlap the first container. Then I line up the ellipses and visualize how the spacing should work. It's important to make sure there is equal space around the text.
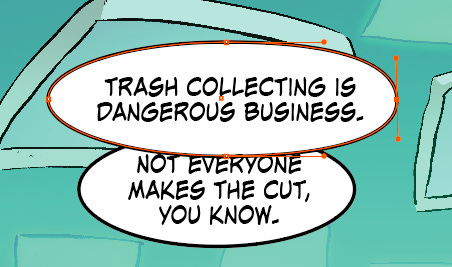
I use the direct selection tool to adjust the sides and create an equal amount of space.
I used the pen tool to create the tail of the balloon.
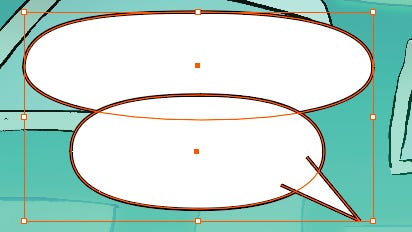
Select the ellipses and tail.
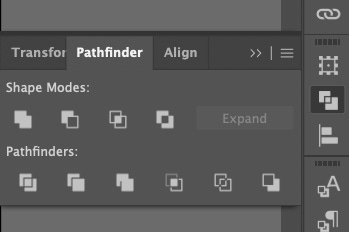
To remove the lines inside the balloon, use the pathfinder tool.
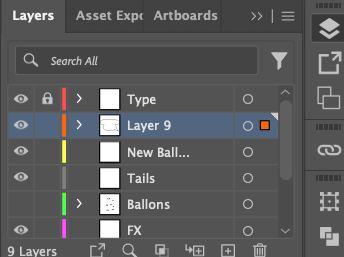
I am turning on the layer that contains the text so that I can align everything.
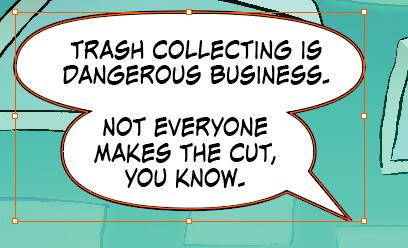
As I go through the panels and place the dialog in speech bubbles. I also make sure to check for any spelling, grammar, and punctuation errors to ensure clarity.
You can read the entire story for free on Global Comics.
Good one. I love lettering tips.